
Getting smooth stable video can be one of the biggest issues when creating video, especially with budget cameras. But a good way of fixing this is with a gimbal, and in this review, we’re going to use and review one; The Zhiyun Weebill 3S.
Buy the Weebill3S on Amazon (paid link *)
A gimbal is great for stabilizing your camera, taking out ‘shake’ from a moving camera shot. A lot of cameras, and lenses do not have any kind of stabilization built in, which helps keeps their price low, but as I’m sure you’re all aware shaky video does not look very professional. So a low-cost gimbal is a great way of tackling this.
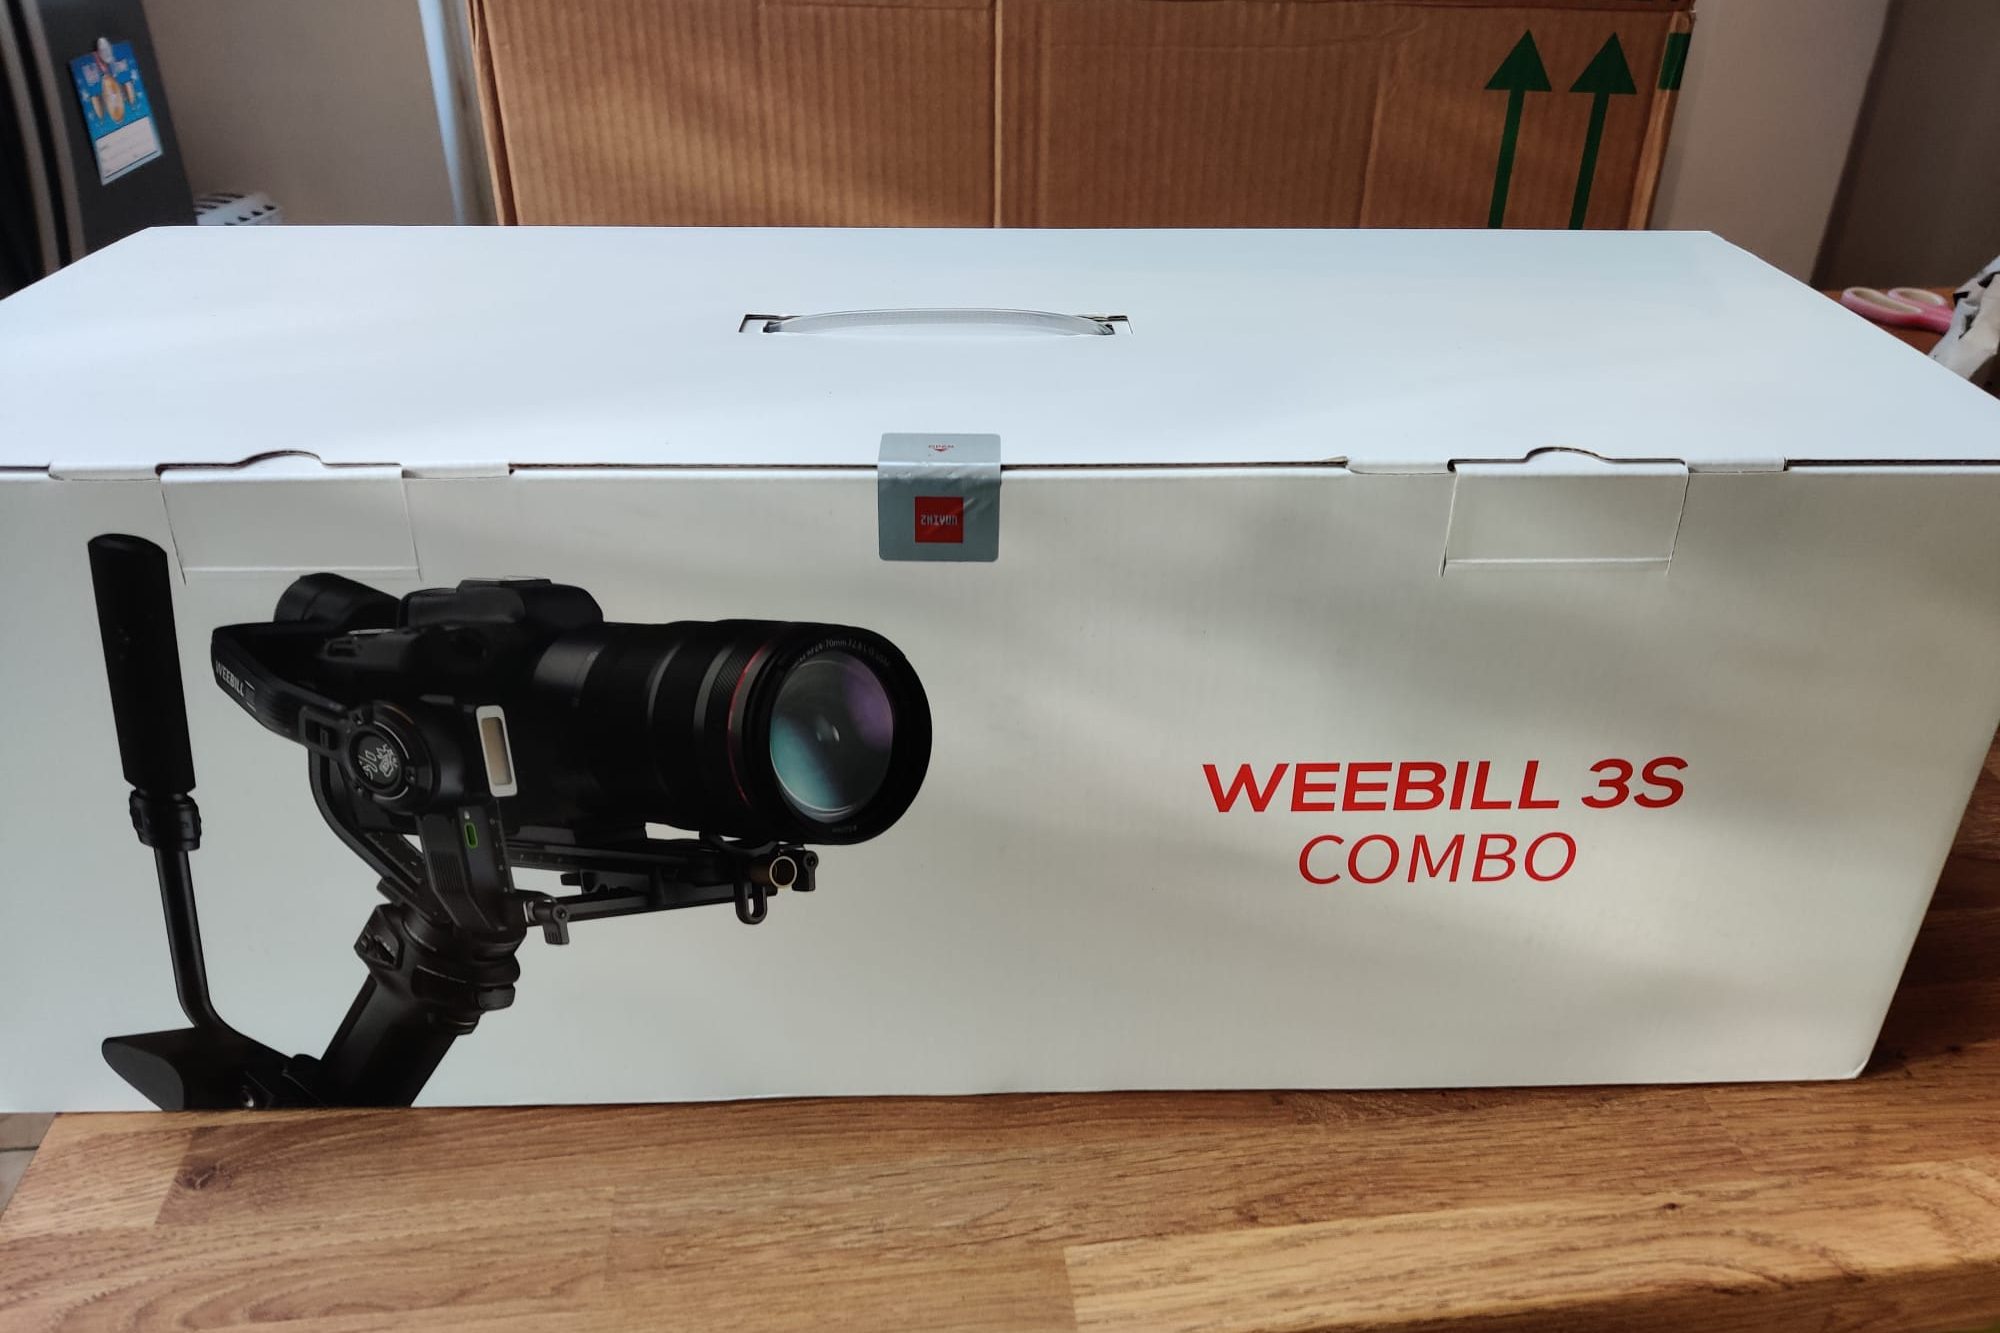
The Weebill 3S Combo comes packaged in a big box, with everything you can see here included. So big in fact I couldn’t fit it on my usual table.
And once you’ve wrestled it all out of the bag, which took me longer than I’d like to admit, this is what you get-
It looks daunting at first but basically, there is a carry bag, the main gimbal, the extendable sling grip, a mini tripod, and the mounting plates. As well as the screws and cables.
The optional extendable sling grip has a quick-release plate, which helps keep the size and weight down if you don’t need it all the time. And the tripod mounts on the bottom of either the gimbal or the sling grip, if you’re using it.
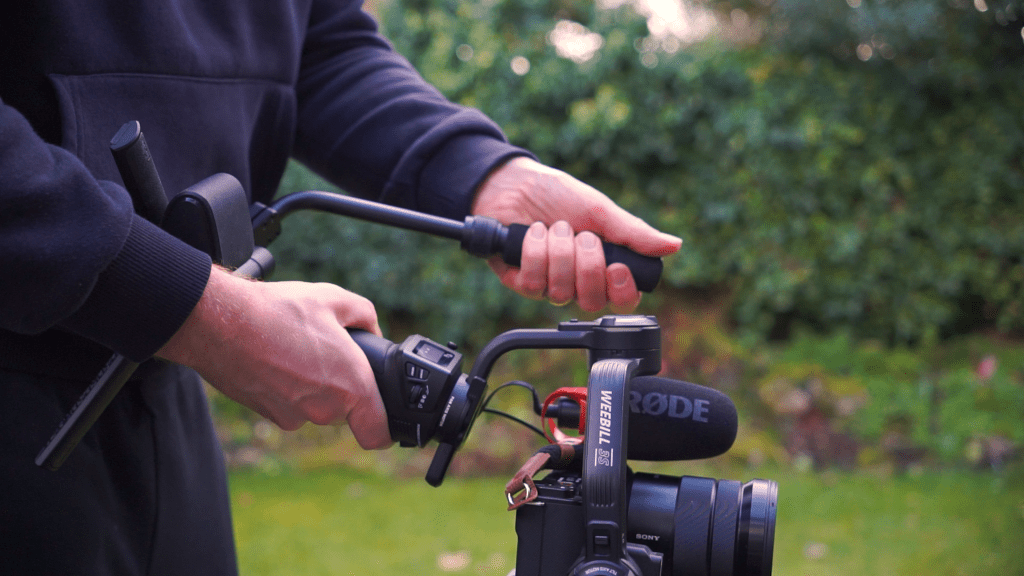
With the extendable sling grip section is adjustable wrist support which you can extend or adjust up and down. Just be aware that this and all operations is firmly aimed at right-hand usage, yet again we left-handers haven’t been considered so be ready to use your right hand for holding the gimbal.
That aside holding the gimbal is pretty comfortable, with rubber grip that feels secure and the wrist support helps share the weight well and comfortably. And the extra support and control you get with the extendable grip is excellent, it helps with shooting low to the ground, and feels incredibly sturdy and easy to adjust.
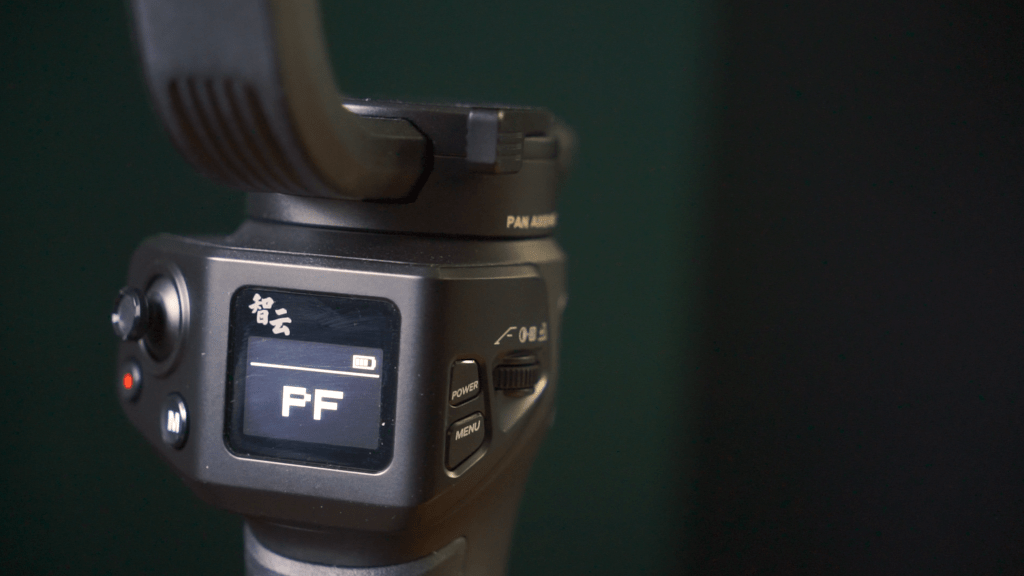
And looking at the gimbal controls, there is a small screen that shows you all the operational information, and has all the settings, a power and menu button, a mode button and scroll wheel on the right of the screen, and a thumbstick mode and record button on the left, again a bit easier to use if you’re right-handed, and on the rear side is a scroll wheel and trigger button. These controls are for certain functions, such as using the control stick to pan or tilt the gimbal. Most of which are reasonably easy to get your head around, and most from trial and error.
There is also a charging port and everything higher up on the gimbal is the arms which you can lock into place with three lock switches, which help massively during setup, so stop your camera swinging around all over the place. I won’t go through the whole setup, otherwise, , but if you’d like me to, let me know in the comments. And if you’re enjoying this review, drop a like on the video, and for more reviews like this subscribe to the channel as it helps me out a lot.
To mount your camera you use the two plates we saw before these screw in using an allen key and are adjustable during setup to factor in the size and weight of the camera and lens you’re using.
There is a quick-release option, which is great for swapping your camera between horizontal and vertical shooting, rather than complicated remounting, and rebalancing of your camera.
There is also an LED light that can be turned on by holding the right side wheel down and adjusted by turning the wheel. Also your camera can be connected via Bluetooth for starting a stopping video with this record button.
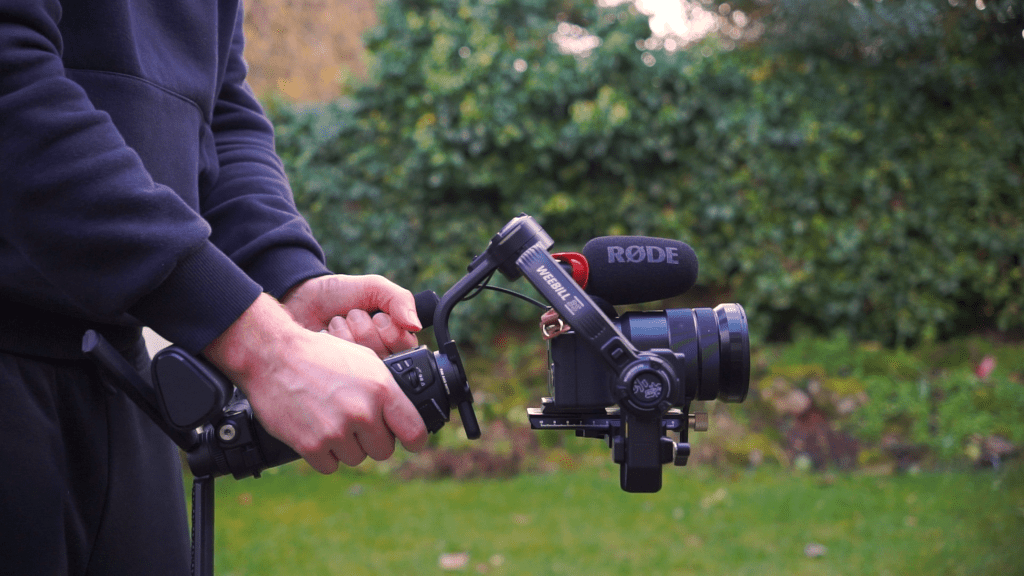
But the important bit of course is how good is the stabilization and well in simple terms, it provides much better stabilisation than either in lens or in camera stabilisation by a long way. In use while walking it will reduce the motion of walking to almost unnoticeable levels, and even while running, whilst it’s clearly moving it smooths out a lot of the more violent-looking shake.
And if you really want to avoid shake, with newer Sony cameras you can use active stabilization, which crops your image slightly, but together with the gimbal reduces shake even when running massively.
And with its main stabilization mode. There is “Pan Follow”, which enables the pan axis, but disables the tilt axis. There is “Lock mode” which disables both, “Follow” which enables both the pan and tilt movement, as well as more niche settings like POV and vortex which give a much looser movement for POV or camera spinning in vortex. For the most part though “Pan Follow” is the main setting.
And you can fine-tune how the gimbal responds to movement very easily, settings I’ve found useful are increasing the smooth setting and the deadband area, making the gimbal respond a little slower for smoother movement.
The Weebill 3S combo full package costs $440 and you get a lot for your money, with all the required accessories you need. Links to the gimbal will be in the description. Being able to use it just as a handheld gimbal, or with the extended grip and the tripod, makes it very flexible for different types of shooting.
The stabilization is smooth and helps prevent unwanted movements and vibrations or sudden camera movements.
If you’re in the market for a gimbal for your mirrorless or DSLR camera then this is a great choice.
Do you use a gimbal, let me know which in the comments
